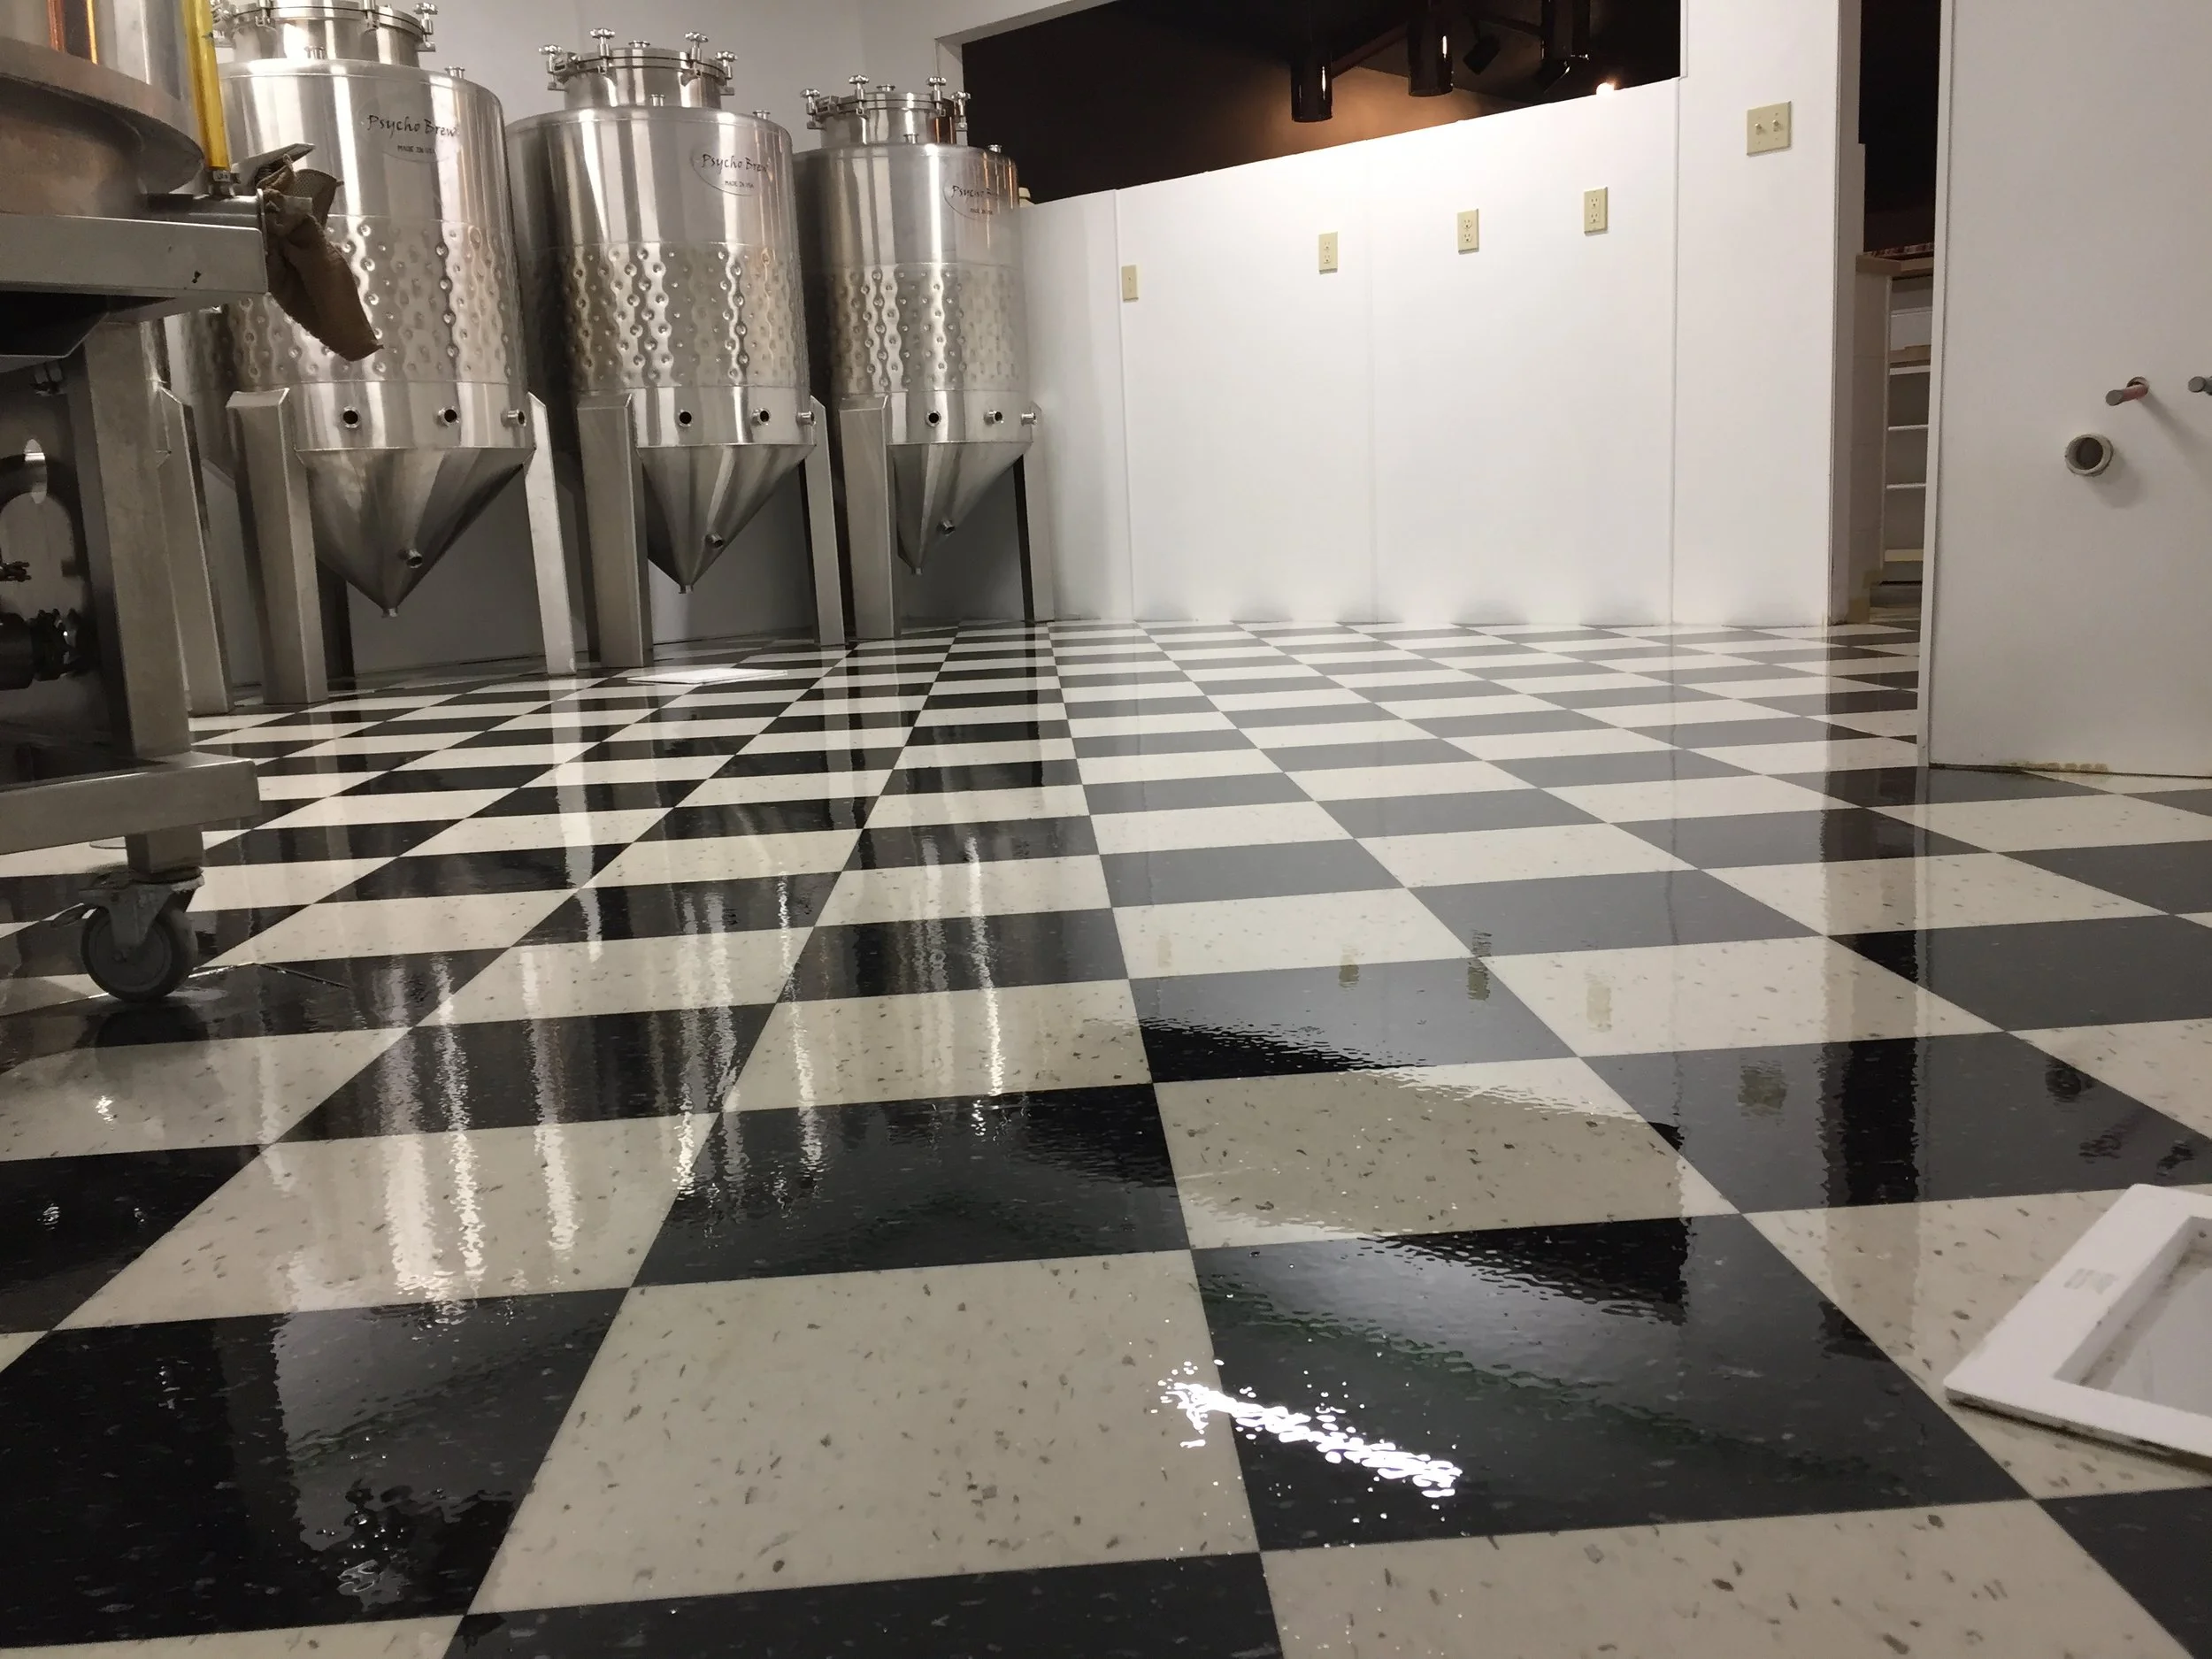
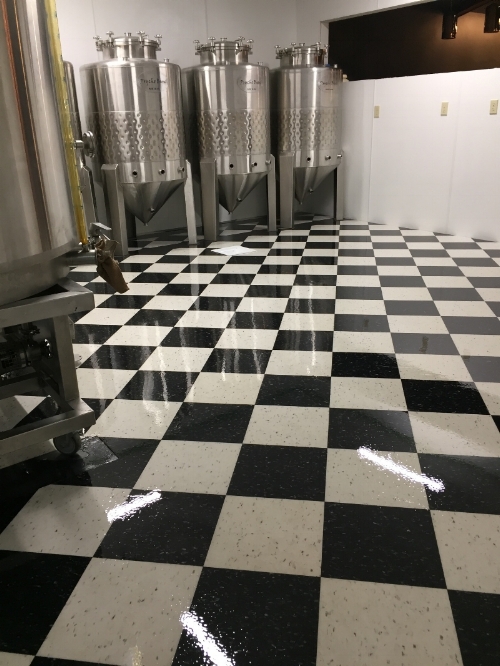
So what has been going on inside Dimes Brewhouse lately? A whole lot of floor work. The brewing area needs a tough floor to withstand harsh cleaning chemicals and the floor in the tap room needs to withstand years of foot traffic. Breweries typically have concrete floors, which can be sealed and washed down. The sub-floor at Dimes is plywood, which doesn't take water and wear very well. Also it just looks like a sub-floor.
Lookin' good, sub-floor.
So what did we cover it with? Vinyl Composite Tile (or VCT)!
We decided to go with black and white tile and had Hardy Builders install it (in a diamond pattern of course!)
With the tile installed, our next task was to protect it from the elements! After doing some research on VCT flooring, we came across a product used by car enthusiasts to seal their garage floors. The product was a 100% solid epoxy coating used to coat VCT or concrete. We came to the conclusion that if it can withstand cars and automotive fluids, it should handle cleaning chemicals and thirsty patrons.
We knew coating the floor was going to be a big project so we picked a weekend, purchased our supplies, and got to work! Let's jump into the steps.
Prep the Floor:
Increased the building temperature - The epoxy was a two part system, the epoxy resin and the hardener. We wanted the floors to be nice and warm before applying the coating to assist in curing.
Sanding the VCT - A rough surface helps the epoxy stick to the VCT. To do this we rented a square buffer from Home Depot and sanded the floor using a 220 grit sanding screen.
The form is not bad but there is still room for improvement.
Cleaning the VCT - Once the floor was sanded down we then had to mop up the dust, remove any adhesive left over from the tile installation, and wipe the whole floor down with denatured alcohol. We didn't take any pictures of this step but I'll summarize: a spray bottle full of denatured alcohol, hands, knees, paper towel. Lots of paper towel.
With the prep work done, we were finally ready to tackle a cold beer. And then the epoxy.
Applying the Epoxy:
Our goal was to coat the floor with a minimum of 12 mils of epoxy (about the thickness of 3 sheets of paper). Now one of the challenging parts of the process was keeping track of time. Once the two parts of the epoxy were mixed, we had 30 minutes to use that batch before it started to cure. Also, the instructions were very specific about how to apply it:
- Don't keep it in the mixing bucket.
- Back roll it with a 3/8" nap roller.
- Don't completely drain the mixing bucket.
- Don't pour on the floor until you are certain the contents are mixed thoroughly.
- Pour the epoxy in grid pattern.
- If working in sections keep the edges wet so they can be overlapped.
- If the roller gets too stick, get a new roller.
- Do not wait more than 18 hours before applying a urethane top coat. ( I haven't mentioned this little guy yet but as you can probably guess, we applied a healthy coating of urethane 18 hours later)
So our plan was this: I was going to do the mixing in the basement because for some reason I enjoy meticulously measuring out chemicals and mixing them. Steve Rogers aka Captain America aka my Dad was going to be taking said bucket of chemicals and delivering them to Michelle who would then enthusiastically apply the epoxy to the floor. After a few batches we had things running like a well oiled machine. I was keeping track of how much time we had left on the batch while prepping for the next one. Michelle was applying the epoxy while keeping track of our coverage. My Dad was doing the trim work while making sure Michelle wasn't doing too much ice skating across the floor (she ended up wearing spiked shoes to keep her from slipping).
Five batches and 3.5 hours later we finished up (around 1:30 am).
Mixing Station Aftermath
So then we waited for the epoxy to cure up a little bit before starting on the urethane top coat (i.e. we went home and slept).
Applying the Urethane:
So what's the deal with this urethane business? Well the epoxy is meant to protect the VCT while the urethane is meant to protect the epoxy. What protects the urethane? More urethane. It's pretty tough stuff.
We ended up waiting the full 18 hours before applying the urethane because the epoxy didn't seem to be curing as quickly as we had hoped. The process of applying the urethane was very similar to the epoxy with a few subtle differences. One nice thing was that it had a longer working time than the epoxy. This made the processes a lot less hectic. Obtaining the proper coverage was tricky because it was difficult to see where you had already applied the material. Here applied the same tactics as before, I was mixing while Michelle was rolling.
No Zebras were harmed in the making of Michelle's socks.
Once the urethane was applied it was time to wait and let it cure for 3 - 5 days. To help remind people that the floor were not to be walked on, Captain America cruised by and put up this handy sign:
Who's that man in the reflection?
Once the floor was dry enough to walk on we ventured in for inspection. It looked pretty good! There were a few spots we thought could have used a little extra coverage so we looked into what it would take to patch them up and ended up here:
Working that floor sander once again.
That's right, putting another layer on the whole floor. The more urethane the merrier?
Final Product:
Floor so shiny you need to wear shades.
Now we can finally cross off "Flooring" from our To-Do List!
I clearly missed the memo on where to look.
Want to get email updates when we publish a new blog post? Head on over to the 10¢ Blog to sign up!


